We Guarantee To Answer Your Call
In 3 Rings Or Less!
100% money back guarantee
Financing As Low as $60 a Month
Great Customer Service
With Us Your Comfort Is Guaranteed
Air Conditioning
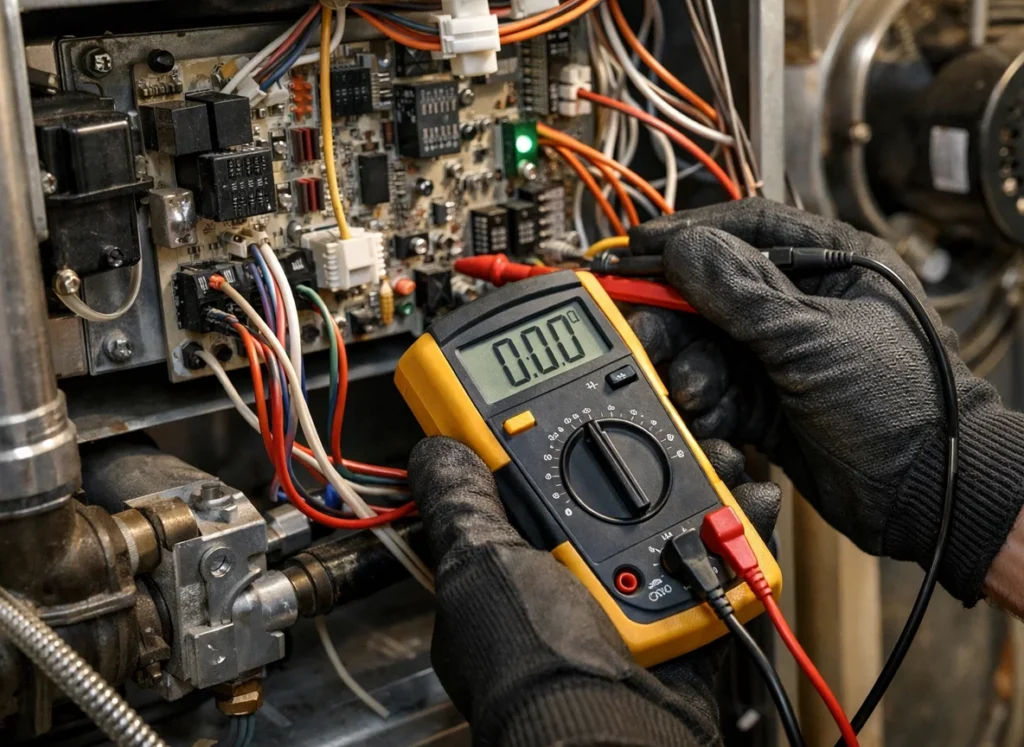
Few systems are as important as your air conditioner when you live in Lake City, FL. We understand the importance of this comfort system. That’s why we make sure to offer comprehensive air conditioner services for a variety of systems. We provide installs, repairs, maintenance, and replacements for central ACs, heat pumps, ductless units, and even zone control systems.
Heating
The temperatures may not reach the single digits out here but it can still get cold. With our help, you’ll never need to worry about being able to keep your house warm. We offer our full range of services for heating systems including furnaces, ductless systems, and more.
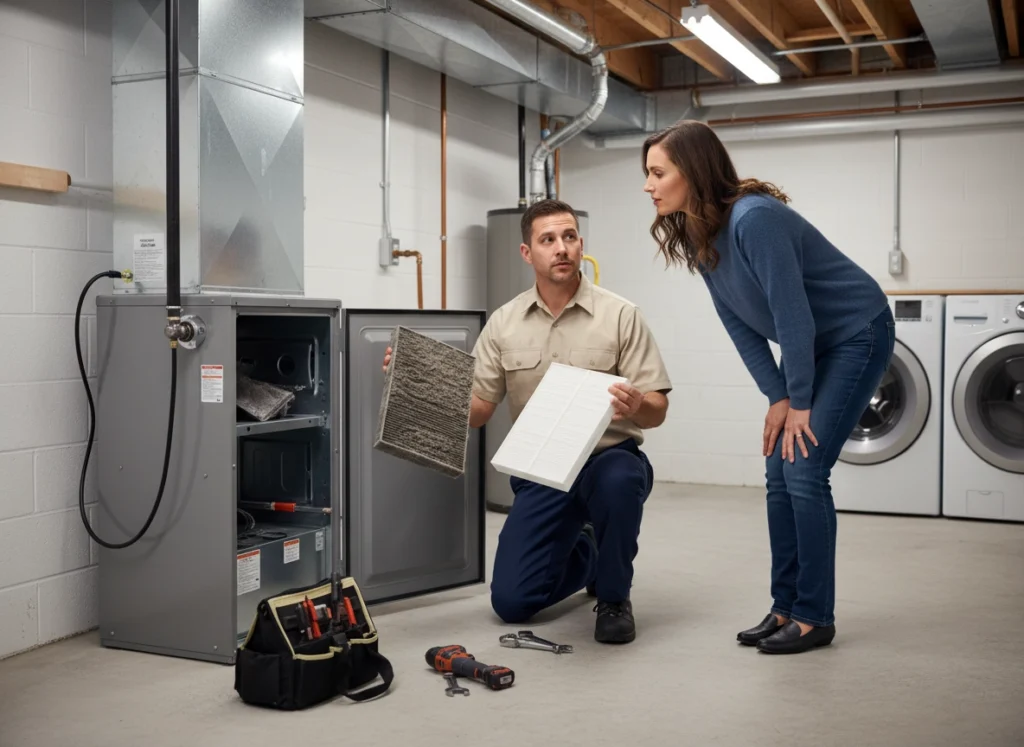
Indoor Air Quality
The quality of the air in your home is just as important as the temperature. The team at Touchstone Heating & Air Inc. understands that fact. That’s why we have your indoor air quality needs covered too. You can work with our certified technicians to install and keep up everything from air filters to dehumidifiers. Contact us to get started on cleaning up the air in your home.
Light Commercial HVAC
You need to keep your business comfortable for your employees and your customers alike. We get how tough running a business is out here; that’s why we want to make things easier for you by offering top-quality light commercial HVAC services. Let us help keep your commercial space cool in summer and warm in winter.
Maintenance
Touchstone Heating & Air Inc. offers residents in Lake City, FL, and the surrounding areas the opportunity to join the Gold Club Maintenance Program. With this maintenance program, you’ll enjoy the same quality maintenance service that we provide with some great added perks. Call today to learn more or to schedule a tune-up for your AC or heater.
Generators
At Touchstone Heating & Air Inc., we are proud to offer expert maintenance services for Generac Generators. As certified service professionals, we ensure that your generator is always ready to provide reliable backup power when you need it most. Our team is trained to handle all aspects of Generac generator maintenance, from routine inspections to comprehensive system checks, ensuring optimal performance and long-term reliability. With our expertise and commitment to quality, you can trust us to keep your home or business protected from unexpected power outages.
With Us Your Comfort Is Guaranteed
William has come to our home few times to help with heating/air. He is knowledgeable, friendly, and discusses with you the options for your given situation.
– David Dishman
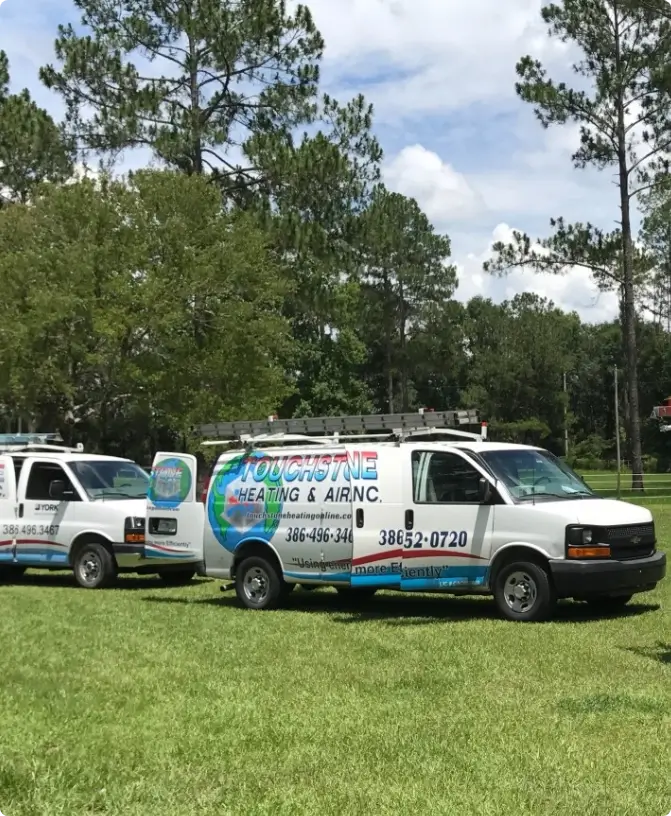
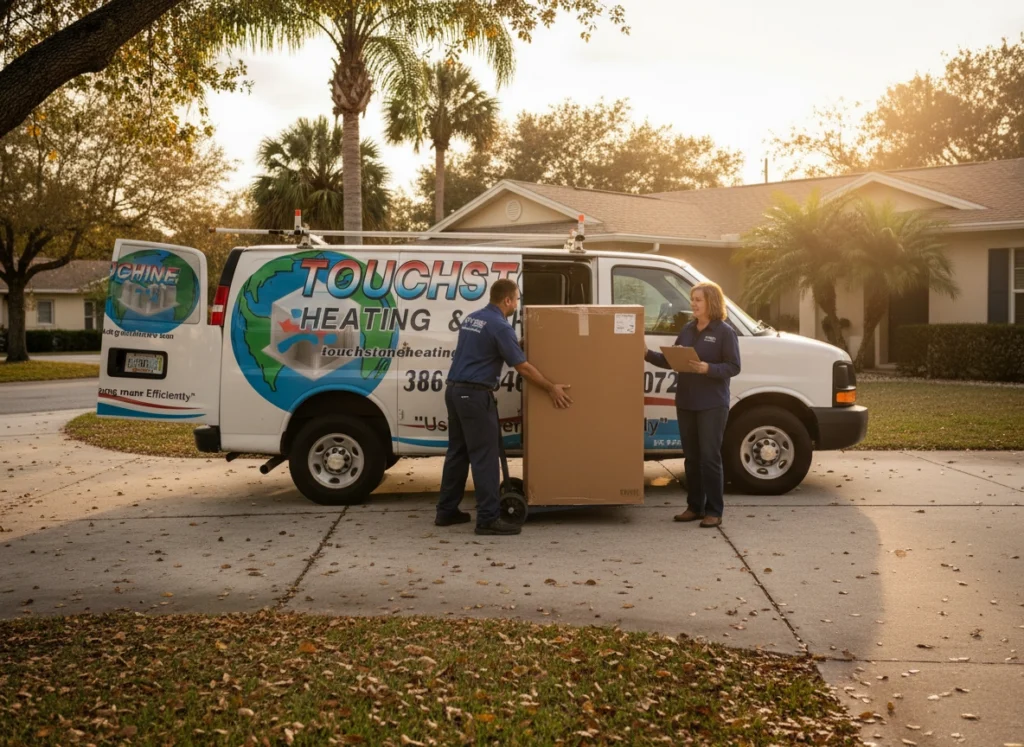
Your Team For HVAC Services in Lake City & Lake Butler, FL
You deserve to have reliable comfort in your home in Lake City, FL, plain and simple. Keeping the systems that provide that comfort in working order shouldn’t be a hassle. With Touchstone Heating & Air Inc. you don’t have to worry because our team is here to provide the work you need.
- We answer the phones in three rings or less
- We provide a 100% money-back guarantee on all work.
- Our technicians are NATE and EPA-certified, background-tested, and fully insured.
When you come to our team, you can rest easy knowing your home comfort is in great hands. We are experts at what we do and we prioritize building lifetime relationships with our customers.
Call Touchstone Heating & Air Inc. 24/7 for exceptional customer service!


Schedule your next service today. Call or Book Online
Recent articles and updates
Lorem ipsum dolor sit amet, consectetur adipiscing elit. Ut elit tellus, luctus nec ullamcorper mattis, pulvinar dapibus leo.
Lorem ipsum dolor sit amet, consectetur adipiscing elit. Ut elit tellus, luctus nec ullamcorper mattis, pulvinar dapibus leo.
Lorem ipsum dolor sit amet, consectetur adipiscing elit. Ut elit tellus, luctus nec ullamcorper mattis, pulvinar dapibus leo.

Lorem ipsum dolor sit amet, consectetur adipiscing elit. Ut elit tellus, luctus nec ullamcorper mattis, pulvinar dapibus leo.

Lorem ipsum dolor sit amet, consectetur adipiscing elit. Ut elit tellus, luctus nec ullamcorper mattis, pulvinar dapibus leo.
Lorem ipsum dolor sit amet, consectetur adipiscing elit. Ut elit tellus, luctus nec ullamcorper mattis, pulvinar dapibus leo.
Join the Gold Club Maintenance Plan
Our maintenance program will help you save some gold
- Reduced cooling and heating costs
- Priority scheduling
- 20% discounts on repairs
- Improved efficiency
- Alachua
- Brooker
- Fort White
- Glen St Mary
- High Springs
- LaCrosse
- Lake Butler
- Lake City
- Lawtey
- Live Oak
- Lulu
- Macclenny
- Madison
- Sanderson
- Starke
- Wellborn
- White Springs
- Columbia County